October 31, 2026
How to turn a topic into a short video with AI
Turn a topic into a short video with AI: write one sentence, pick a look and a voice, and get scenes, narration and captions you can edit.
A good AI short video generator gives you something you can edit, not a locked file. Shorts in genvi turns a topic into a script, a picture and clip for each scene, a voice, music and captions. Then it gives you the result as a Video Composer project, the editor where you can change anything. This guide makes a 30 second tall video from one sentence.
What you will make with the AI short video generator
You will make a short video of 15, 30 or 45 seconds. It is split into scenes of about five seconds each. A voice reads over the scenes, music plays under the voice, and captions match what is said. It opens as a normal Video Composer project, so you can re-cut it, swap a scene or export. The feature is described in the Shorts announcement.
What you need
- A genvi account (sign up).
- A topic you can say in one sentence, between 3 and 400 characters. "Why octopuses are smarter than they look" is the example the form uses.
- Chrome or Edge, if you want to export, because export happens in your browser.
Step 1. Open Shorts and write the topic
On the dashboard, open Formats and choose Shorts. Write your topic in Topic. genvi turns it into a script. The first scene grabs attention, each scene has one idea, and the last scene makes the point. Each line of narration is short enough to fit its five seconds.
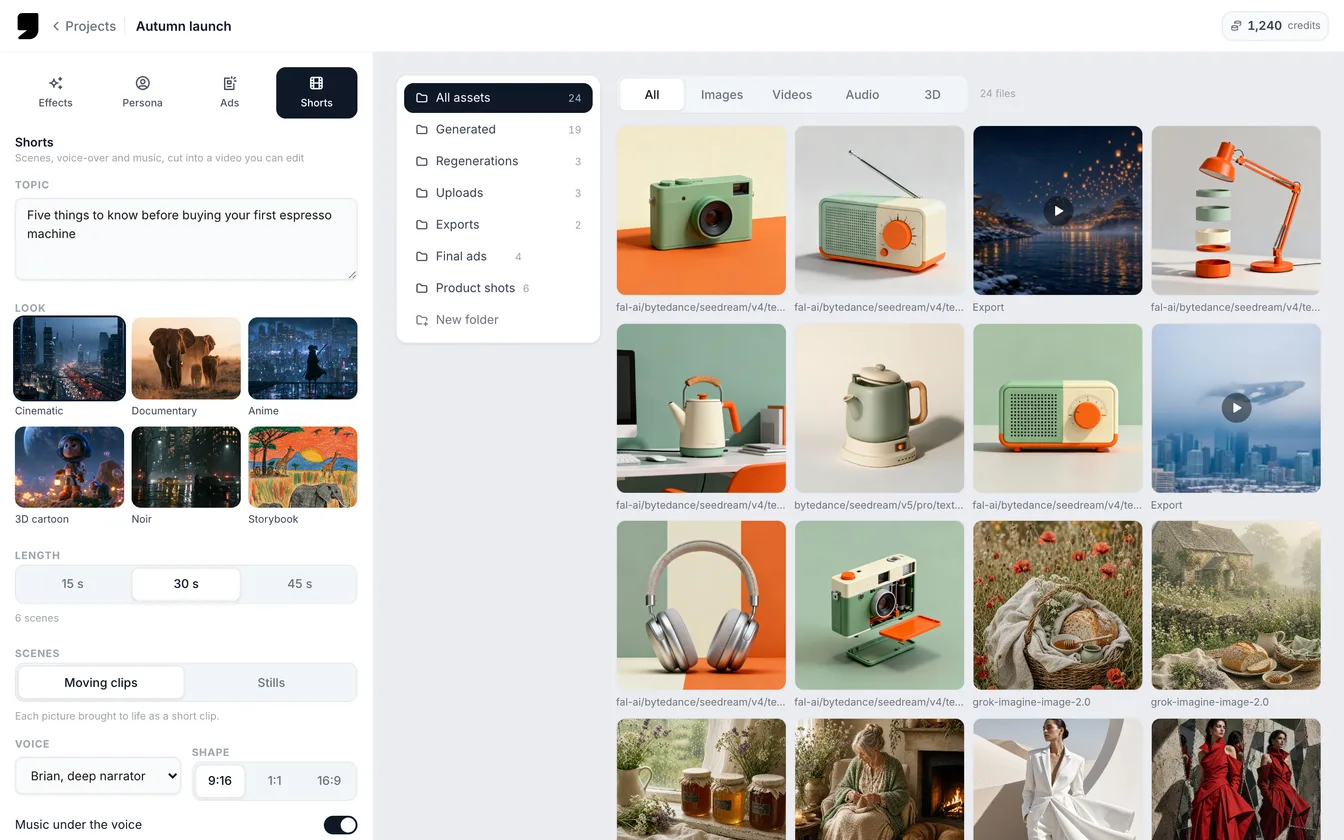
The Shorts form: topic, six looks, length, scenes and voice.
Step 2. Choose the look
Under Look, pick one of six: Cinematic, Documentary, Anime, 3D cartoon, Noir or Storybook. The look sets the picture style for every scene. It also sets the mood of the music. For example, slow jazz for Noir or a gentle melody on a celesta (a small keyboard instrument that sounds like bells) for Storybook. Cinematic is already chosen.
Step 3. Set the length, motion, voice and shape
- Length: 15 s, 30 s or 45 s. The form shows the number of scenes below it: three, six or nine.
- Scenes: Moving clips turns each picture into a short video clip. Stills uses the pictures as they are and fades from one to the next. Stills are quicker and cost far less, so they are best for a first try.
- Voice: Brian (deep narrator), Rachel (warm), Charlotte (bright), George (storyteller), Aria (calm) or Liam (energetic).
- Shape: 9:16 for tall video, 1:1 for square, or 16:9 for wide.
- Music under the voice: on by default. Switch it off for a voice-only video.
Step 4. Check the price and make the short
The button says Make the short, with about N credits beside it once your choices are priced. (Credits are what you spend on each generation.) The price updates when you change the options. Press the button. It changes to Writing the script, and then the run appears beside the form.
Step 5. Watch the run, then open it
The run card shows a small picture for each scene, ticked off as each one finishes. It also shows the voice and music, and a progress bar of credits used so far against the planned amount. The steps are: Making the scenes, voice and music; Timing the captions to the voice; Cutting the video; Done. You can close the tab. The run keeps going and is there when you come back. Stop cancels it, and whatever finished stays in the project's assets.
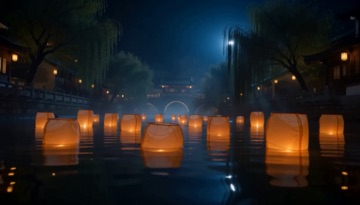
Another clip in the same spirit: "lanterns rising over a river at night, after rain." Made with MiniMax H3 Max Turbo (Fal).
When it is done, press Open in Video Composer. The card shows the length and the credits it used.
Step 6. Edit and export
The project opens with clips, a voice track, a music track and captions on a text track. To change a scene, drop another clip in. You can trim a line or restyle the captions, which are ordinary text clips. Then export. Export runs in your browser. Nothing is uploaded and it costs no credits. Keep the tab open, and use Chrome or Edge. To learn how the timeline works first, see how to make an AI music video.
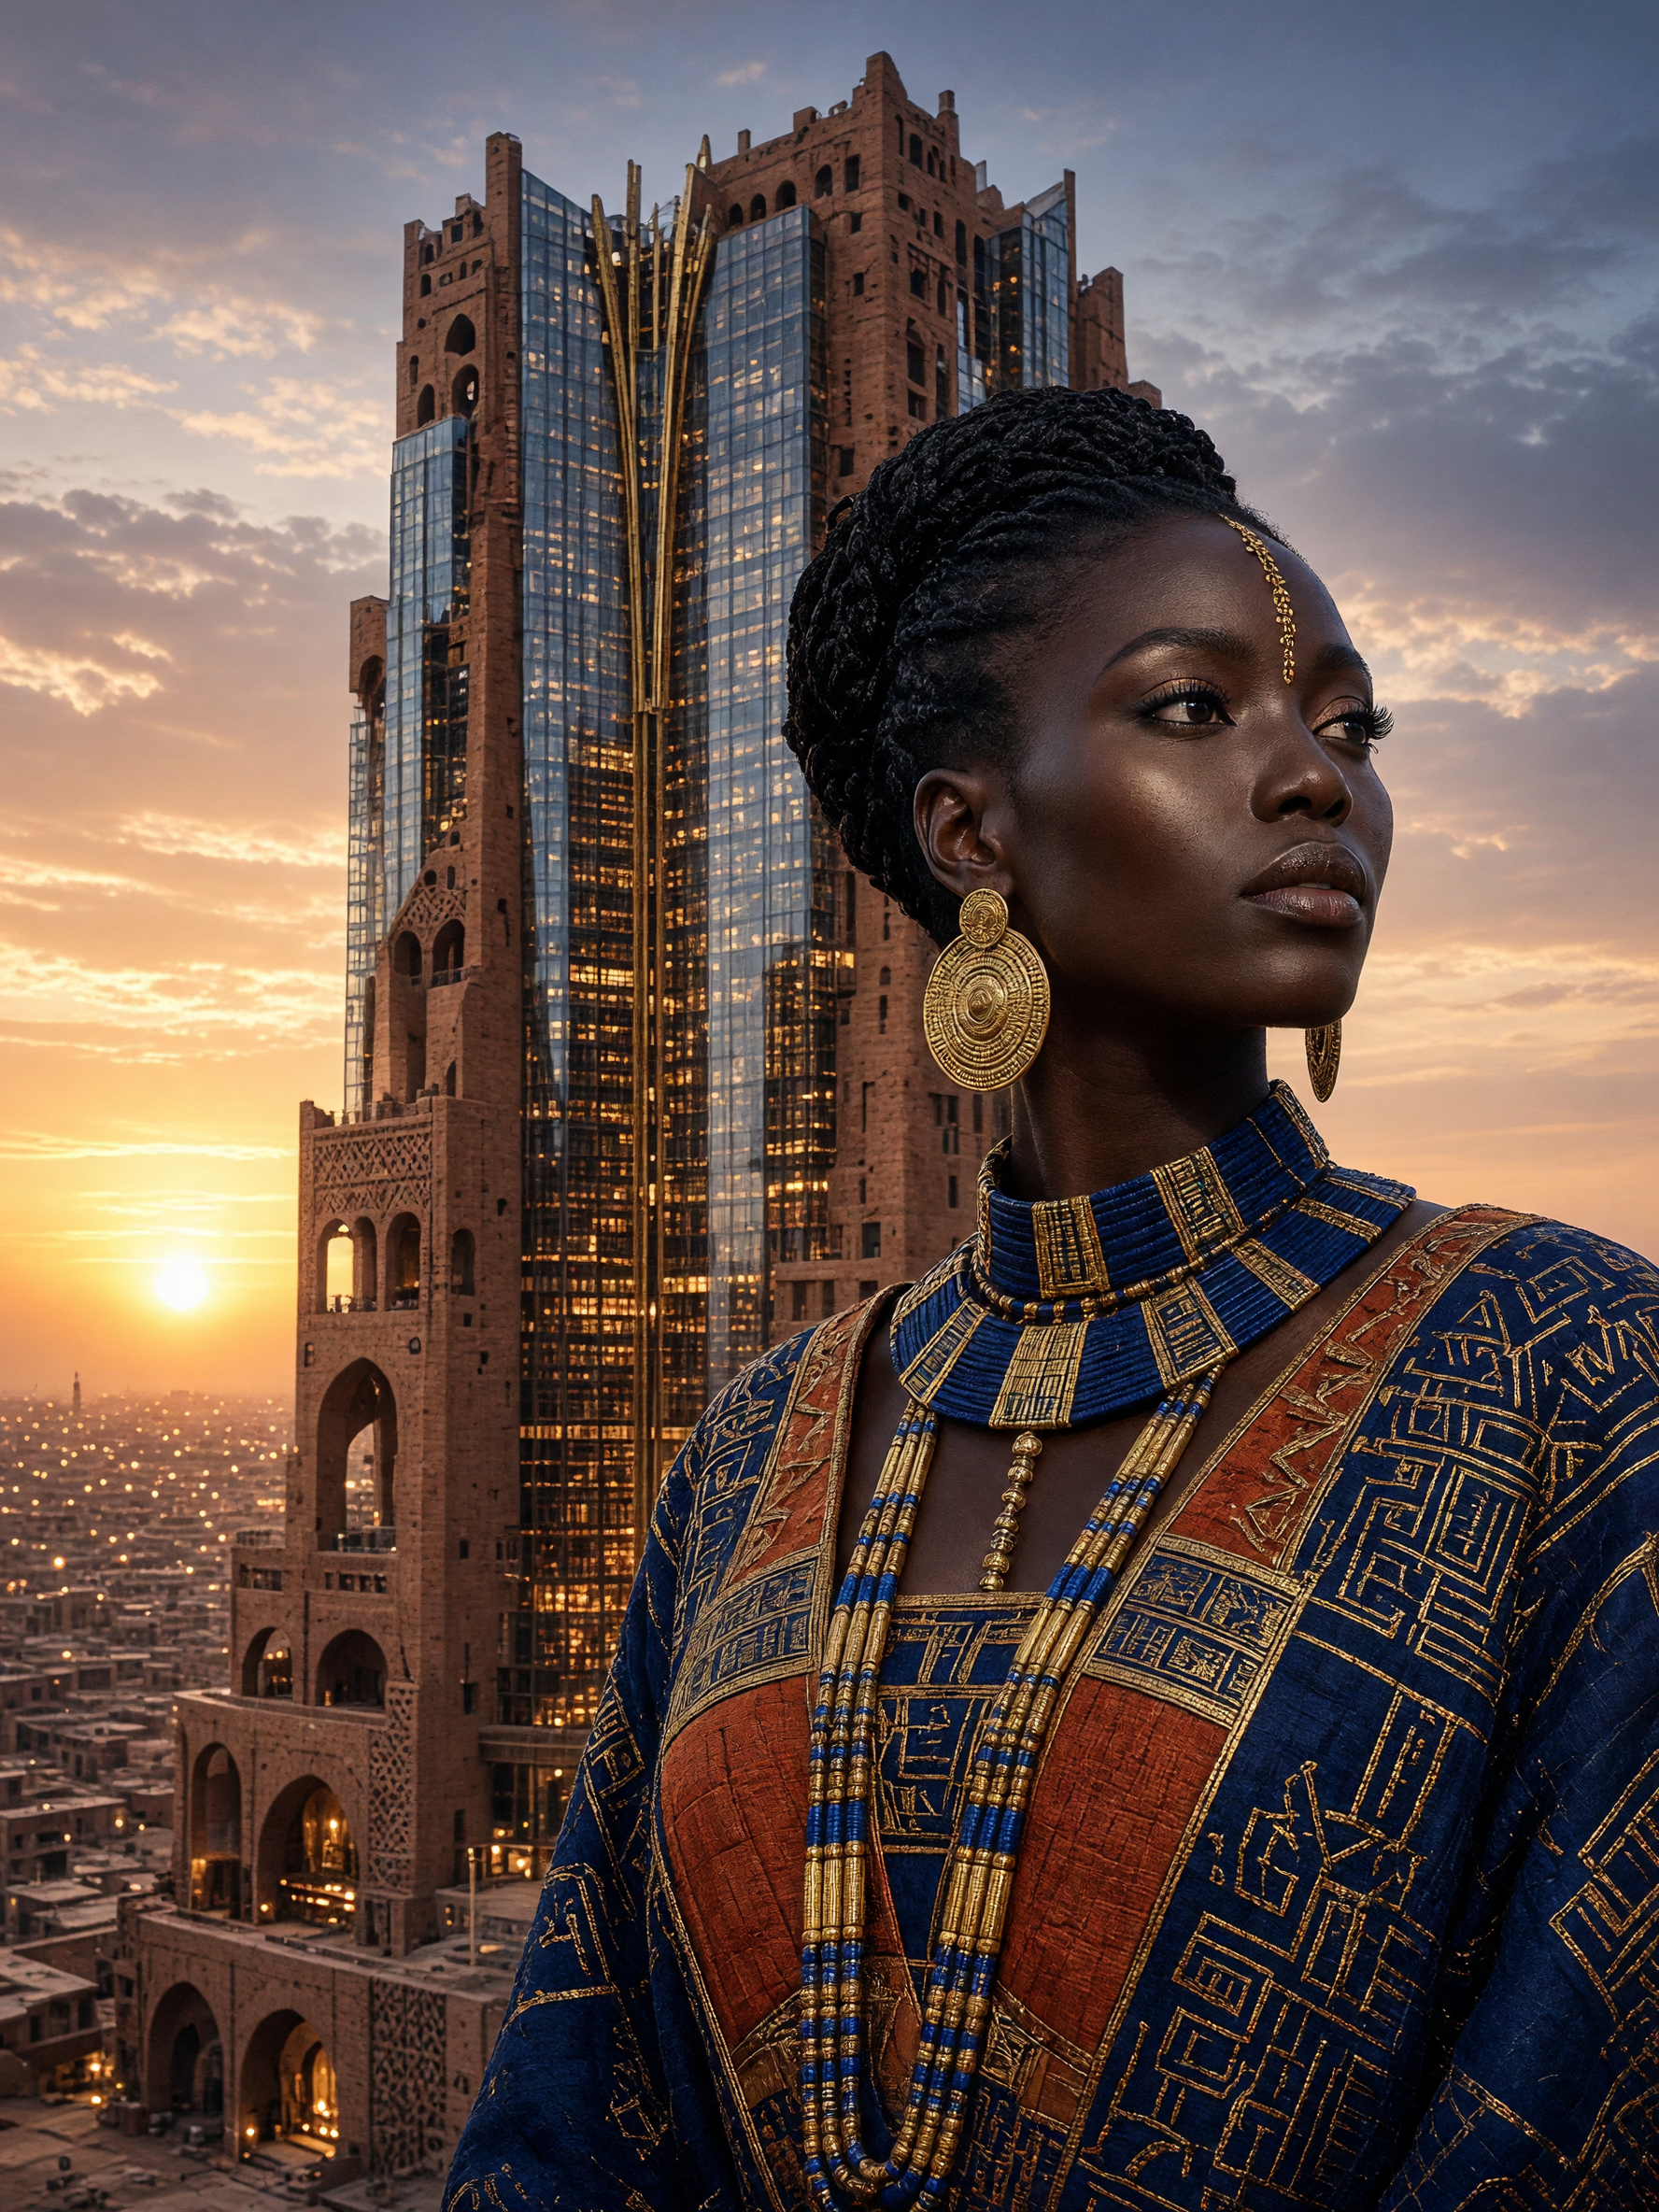
A picture of the kind each scene starts as: "a towering library of mud-brick and glass at dusk, at sunrise over the city." Made with Grok Imagine 2.0.
Tips
- Draft on Stills. You see the script, look and voice for far less. Then run it again with Moving clips.
- Name the angle, not just the subject. "Why octopuses are smarter than they look" gives the script a point to make. "Octopuses" only gives it a list.
- Do not name living people. The script writer will not name real living people, and picture models may refuse to copy a real person's face.
- Do not expect words in the picture. Scenes are made with no text in them. Add titles in the Video Composer instead.
- Pick the voice to fit the look. A deep narrator suits Noir. A bright voice suits 3D cartoon.
What it costs
The price on the button is checked again whenever you change the look, length, Scenes, voice, music or shape. Moving clips cost the most. The form says stills "cost far less". The run card shows the credits used as it goes. See plans and credits.
FAQ
Can I edit the script?
Not before the run. The form takes a topic and writes the script itself. After it finishes, you can edit the result in the Video Composer, where the narration, clips and captions are separate and can be replaced.
Where do I get the finished file?
Export it from the Video Composer, where every short ends up. Export runs in your browser.
What if a scene fails?
The card marks it, and anything that finished is still in the project's assets. You can stop a run and start a new one.
How long does it take?
It depends on the length and on whether you chose clips or stills. The run card shows progress, and you do not need to keep the tab open.