October 30, 2026
How to make an AI influencer with one consistent face
Make an AI influencer in genvi. Save a character, then use Persona to make photos or short clips of the same person in any scene.

An AI influencer is a character you invent. You can then make as many photos of them as you like, with the same face, hair and clothes, in a new place each time. The hard part is keeping them the same. In genvi you save the character once and use a tool called Persona. You write a scene, and every photo or clip shows that same person. This guide takes you from nothing to a week of posts.
What you will make: an AI influencer you can reuse
By the end you will have three things. First, a character saved in your References. Second, a Persona project with four to eight shots of that character in different scenes. Third, a few short clips of the same moments. Persona remembers your choices, so the next shot starts from the last one. For the story behind the idea, read the Formats announcement and why we define a character once.
What you need
- A genvi account. Sign up if you do not have one.
- Two to six pictures of the face and clothes you want. Or make them first in genvi.
- A name for the character. Use a first name only. A made-up full name that looks like a real person can be refused by video models that speak.
Step 1. Save the character in References
Persona does not take a photo in its form. It picks a character from your References, the place where genvi saves characters and other things you reuse. If you have none, Persona says "Add a character to References first." This is on purpose, so one character can be used in many projects.
- On the Dashboard, go to References and choose New reference.
- Set What is it to Character.
- Give it a Name and a Handle. The handle is what you type after an @ sign, so keep it short and simple, like
nova. It can be up to 40 characters. - Add pictures with Upload or Files. You can add up to 12. Put the clearest face first and make it the main picture.
- Fill in Description for the model. Write what stays the same in every shot: face shape, hair, skin, build, signature clothes. Leave out things that belong to one picture, like a smile. The Write with AI button drafts this from your pictures and shows its price before you click.
The description does most of the work. genvi sends it, with your pictures, every time you use the handle. A vague description gives you a vague person.
Step 2. Open Persona and pick your character
On the Dashboard, open the Formats tab and choose Persona. The first panel, Character, shows each saved character as a square. Click the one you want. If you do not choose, Persona uses the first.
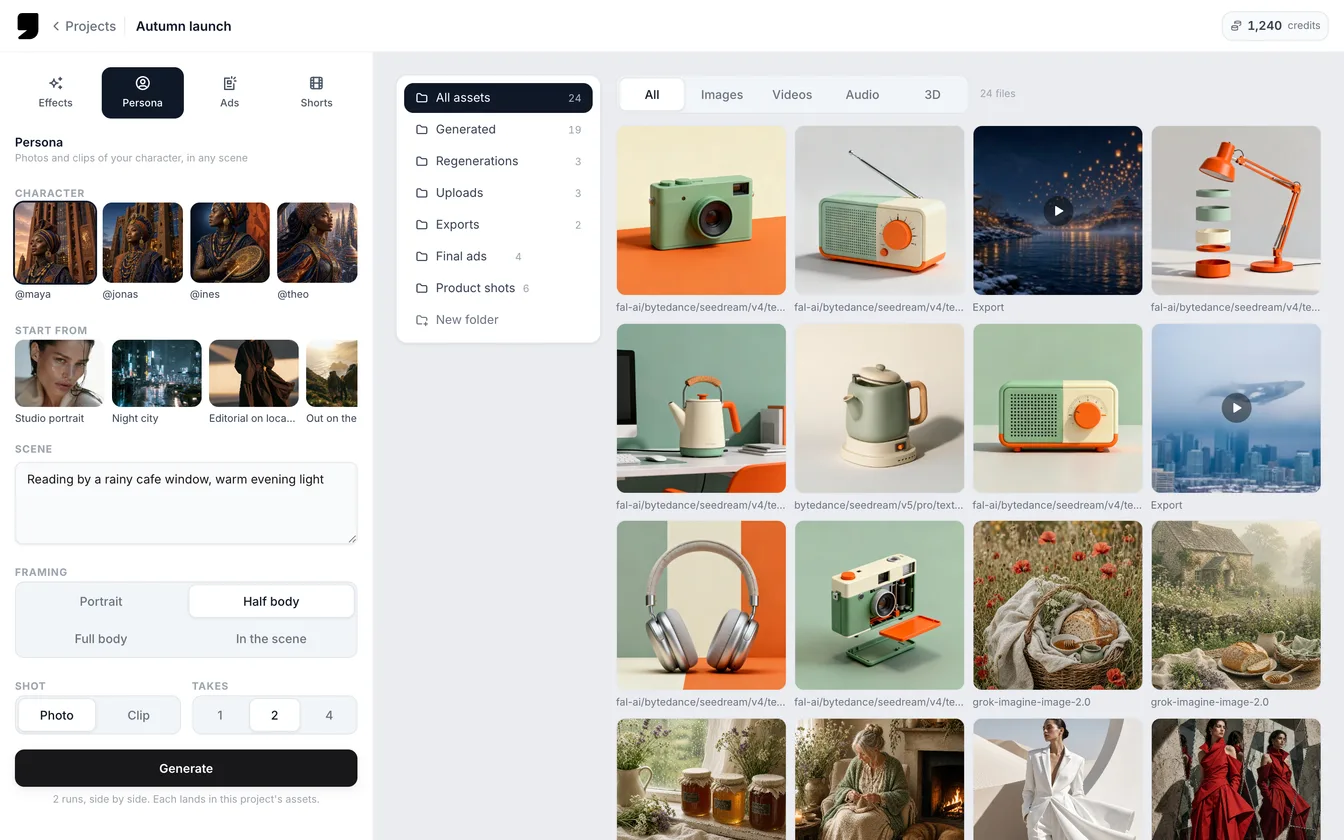
The Persona form: saved characters, templates, a scene box, framing, shot and takes.
Step 3. Describe the scene and frame it
- Optional: under Start from, click a template. There are four: Studio portrait, Night city, Editorial on location and Out on the trail. A template only fills in the form. It does not run by itself.
- In Scene, say where they are and what they are doing, in up to 400 characters. For example: reading by a rainy cafe window, warm evening light.
- Choose a Framing: Portrait, Half body, Full body or In the scene. In the scene keeps the character small in a wide shot, which suits travel and street posts.
- Choose Shot: Photo for a still picture, or Clip for a short video of the same moment.
- Choose Takes: 1, 2 or 4. A take is one try. More takes give you more to choose from.
Persona builds the prompt for you from the character, your scene and the framing. A prompt is the words that tell the AI what to make. It also expands a short scene into a fuller one. You never need to type the @ yourself in this form.
Step 4. Check the estimate and generate
The button says Generate. Once the price is known, it says about N credits. The price includes the character's pictures, because they are sent with the request. Takes run side by side, and every result is saved in the project's assets. You can close the tab. The runs finish without you.
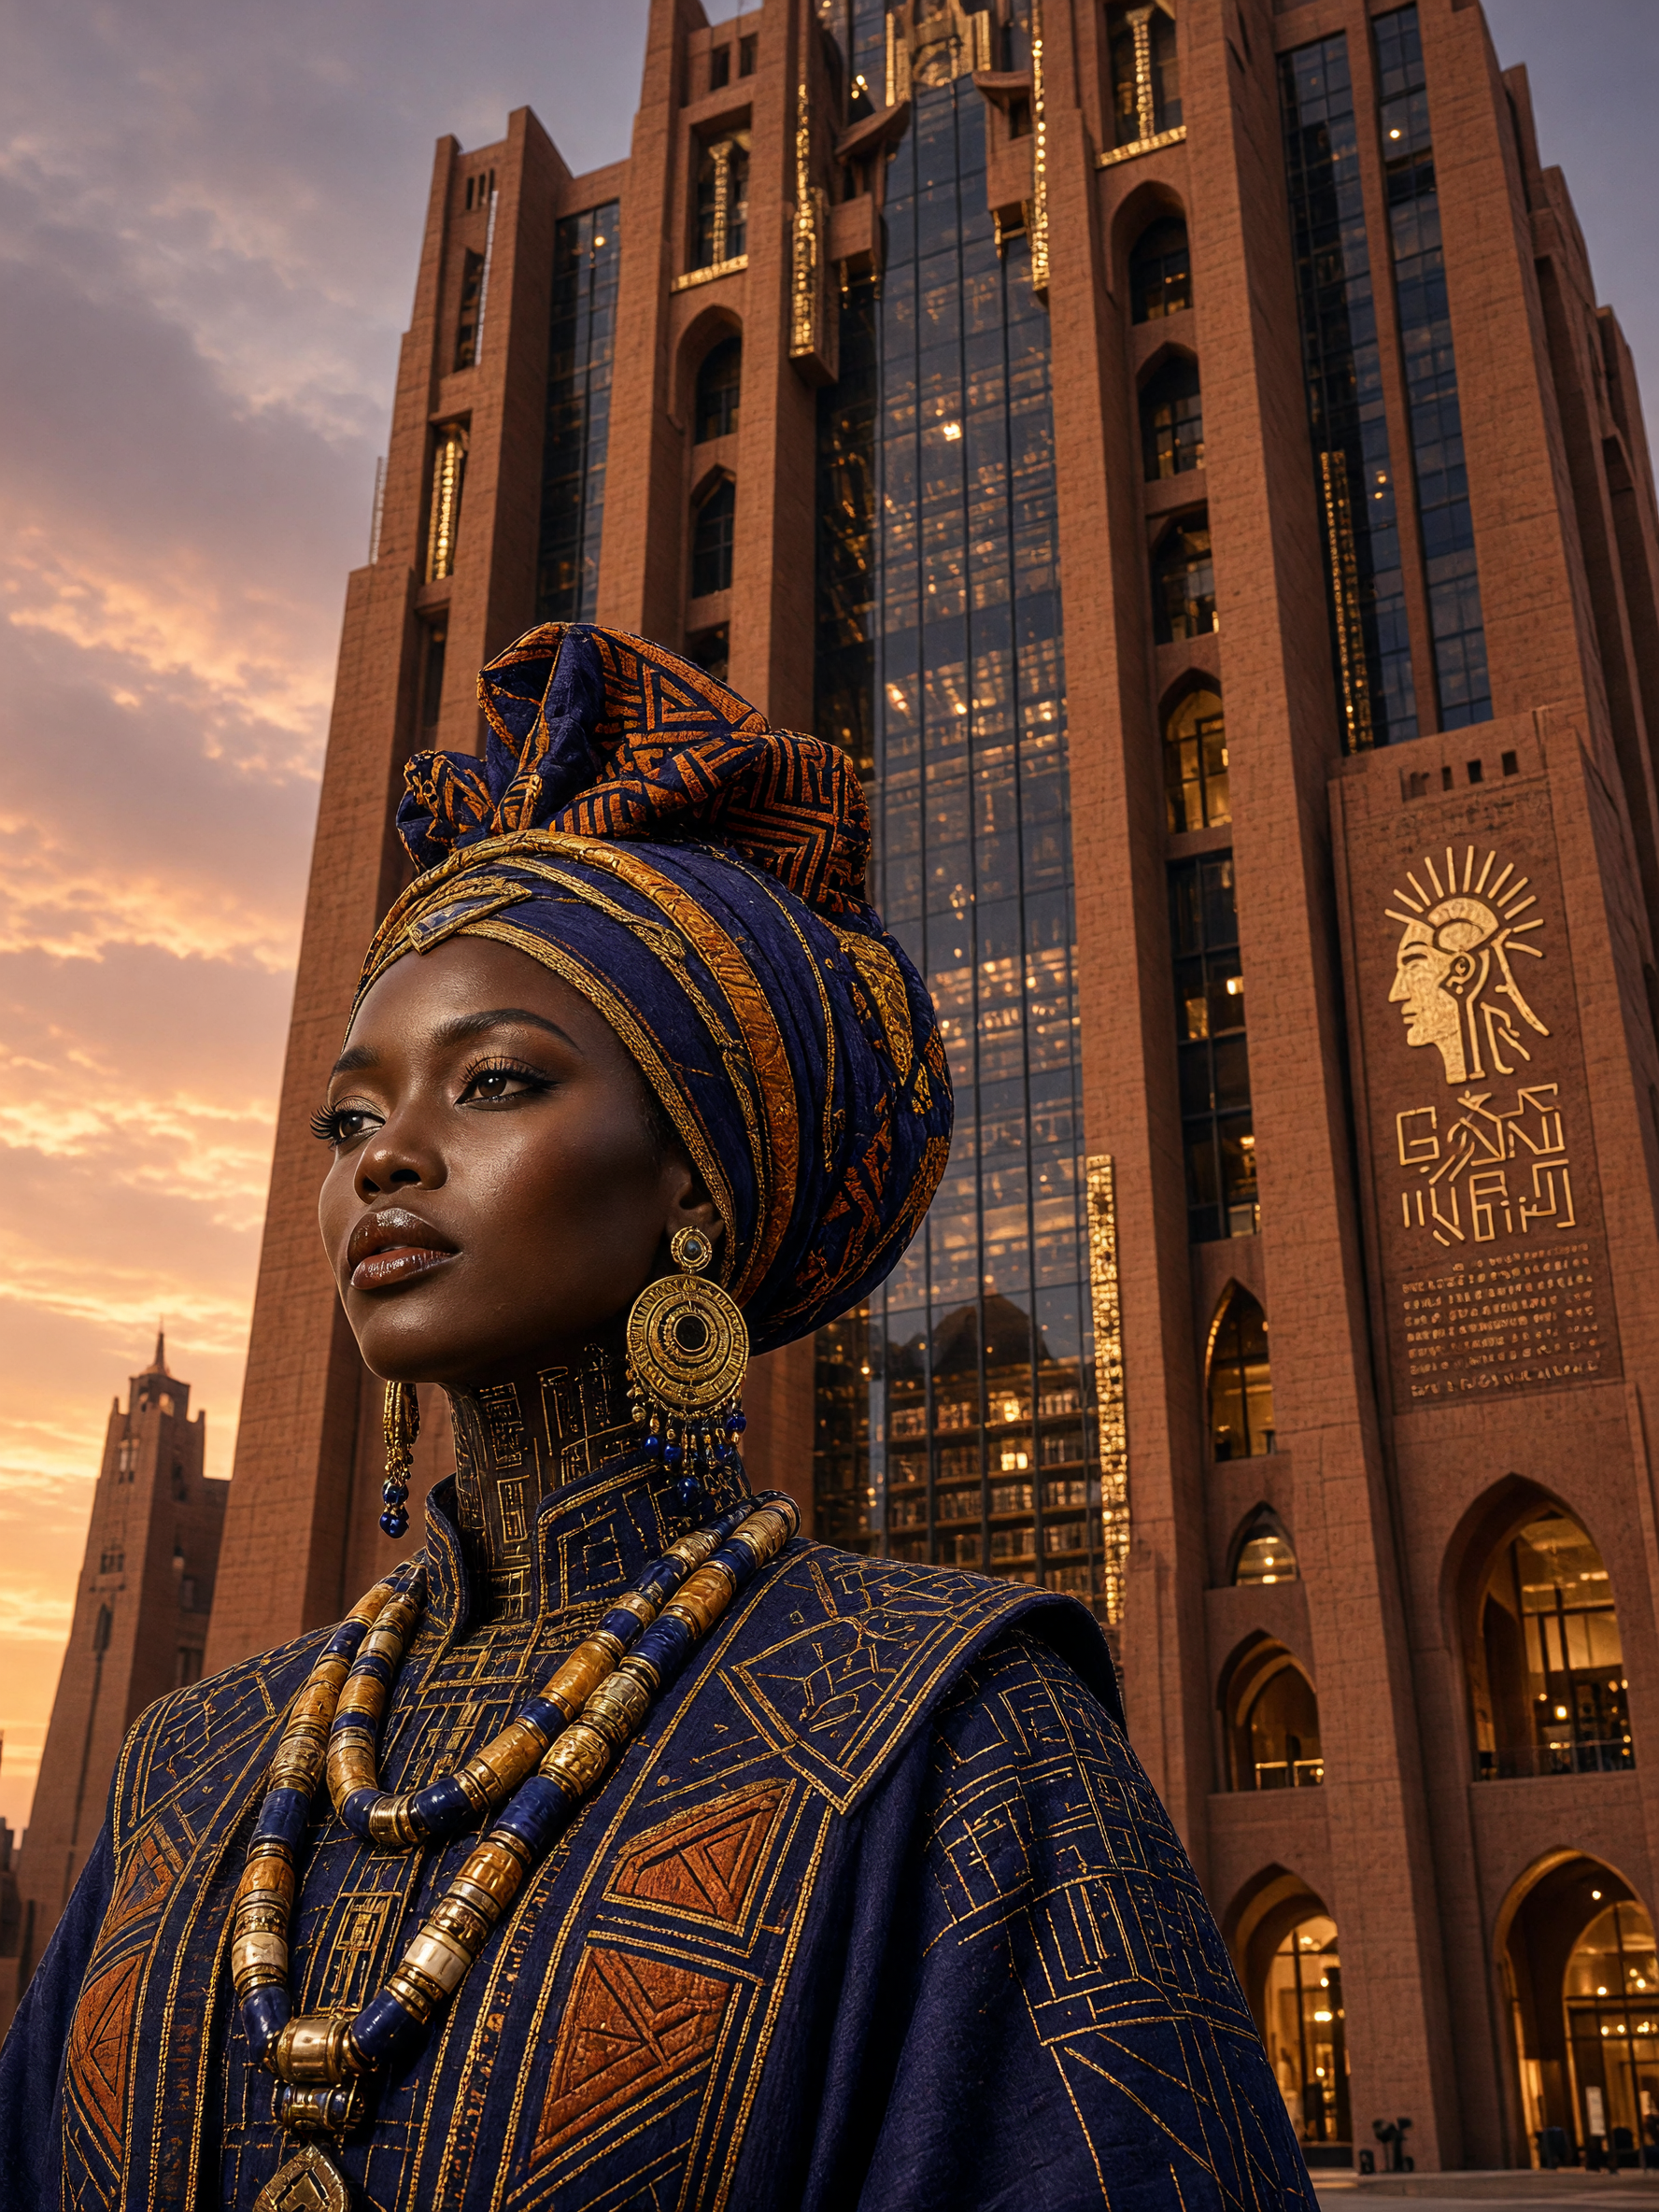
A portrait result in an editorial style. Prompt: "a towering library of mud-brick and glass at dusk, editorial afrofuturist portrait, cinematic studio light." Made with Grok Imagine 2.0.
Step 5. Build the feed
Change only the scene and run again. Try four takes of a cafe, then four of a train platform, then a full-body shot on a trail. Pick the best take of each and download it from the project's assets. When a photo deserves movement, set Shot to Clip and keep the same scene text, so the clip matches the photo you liked. To keep a character the same across a longer video, read how to keep a character consistent in AI video.
Tips
- Fix changes in the description, not the scene. If the hair keeps changing, add the hair to the character's description. Use the scene only for what changes.
- More pictures help only up to a point. Chat uses two pictures per reference and eight in total for each message, so twelve near copies add little. Use different angles instead.
- Use two takes to explore and four to choose. Each take costs credits, so start with 2.
- Add a voice for clips that speak. A character can have a saved voice, so the same person sounds the same in every clip.
- Keep names simple. A first name works on video models that speak. A full name that looks real may be refused.
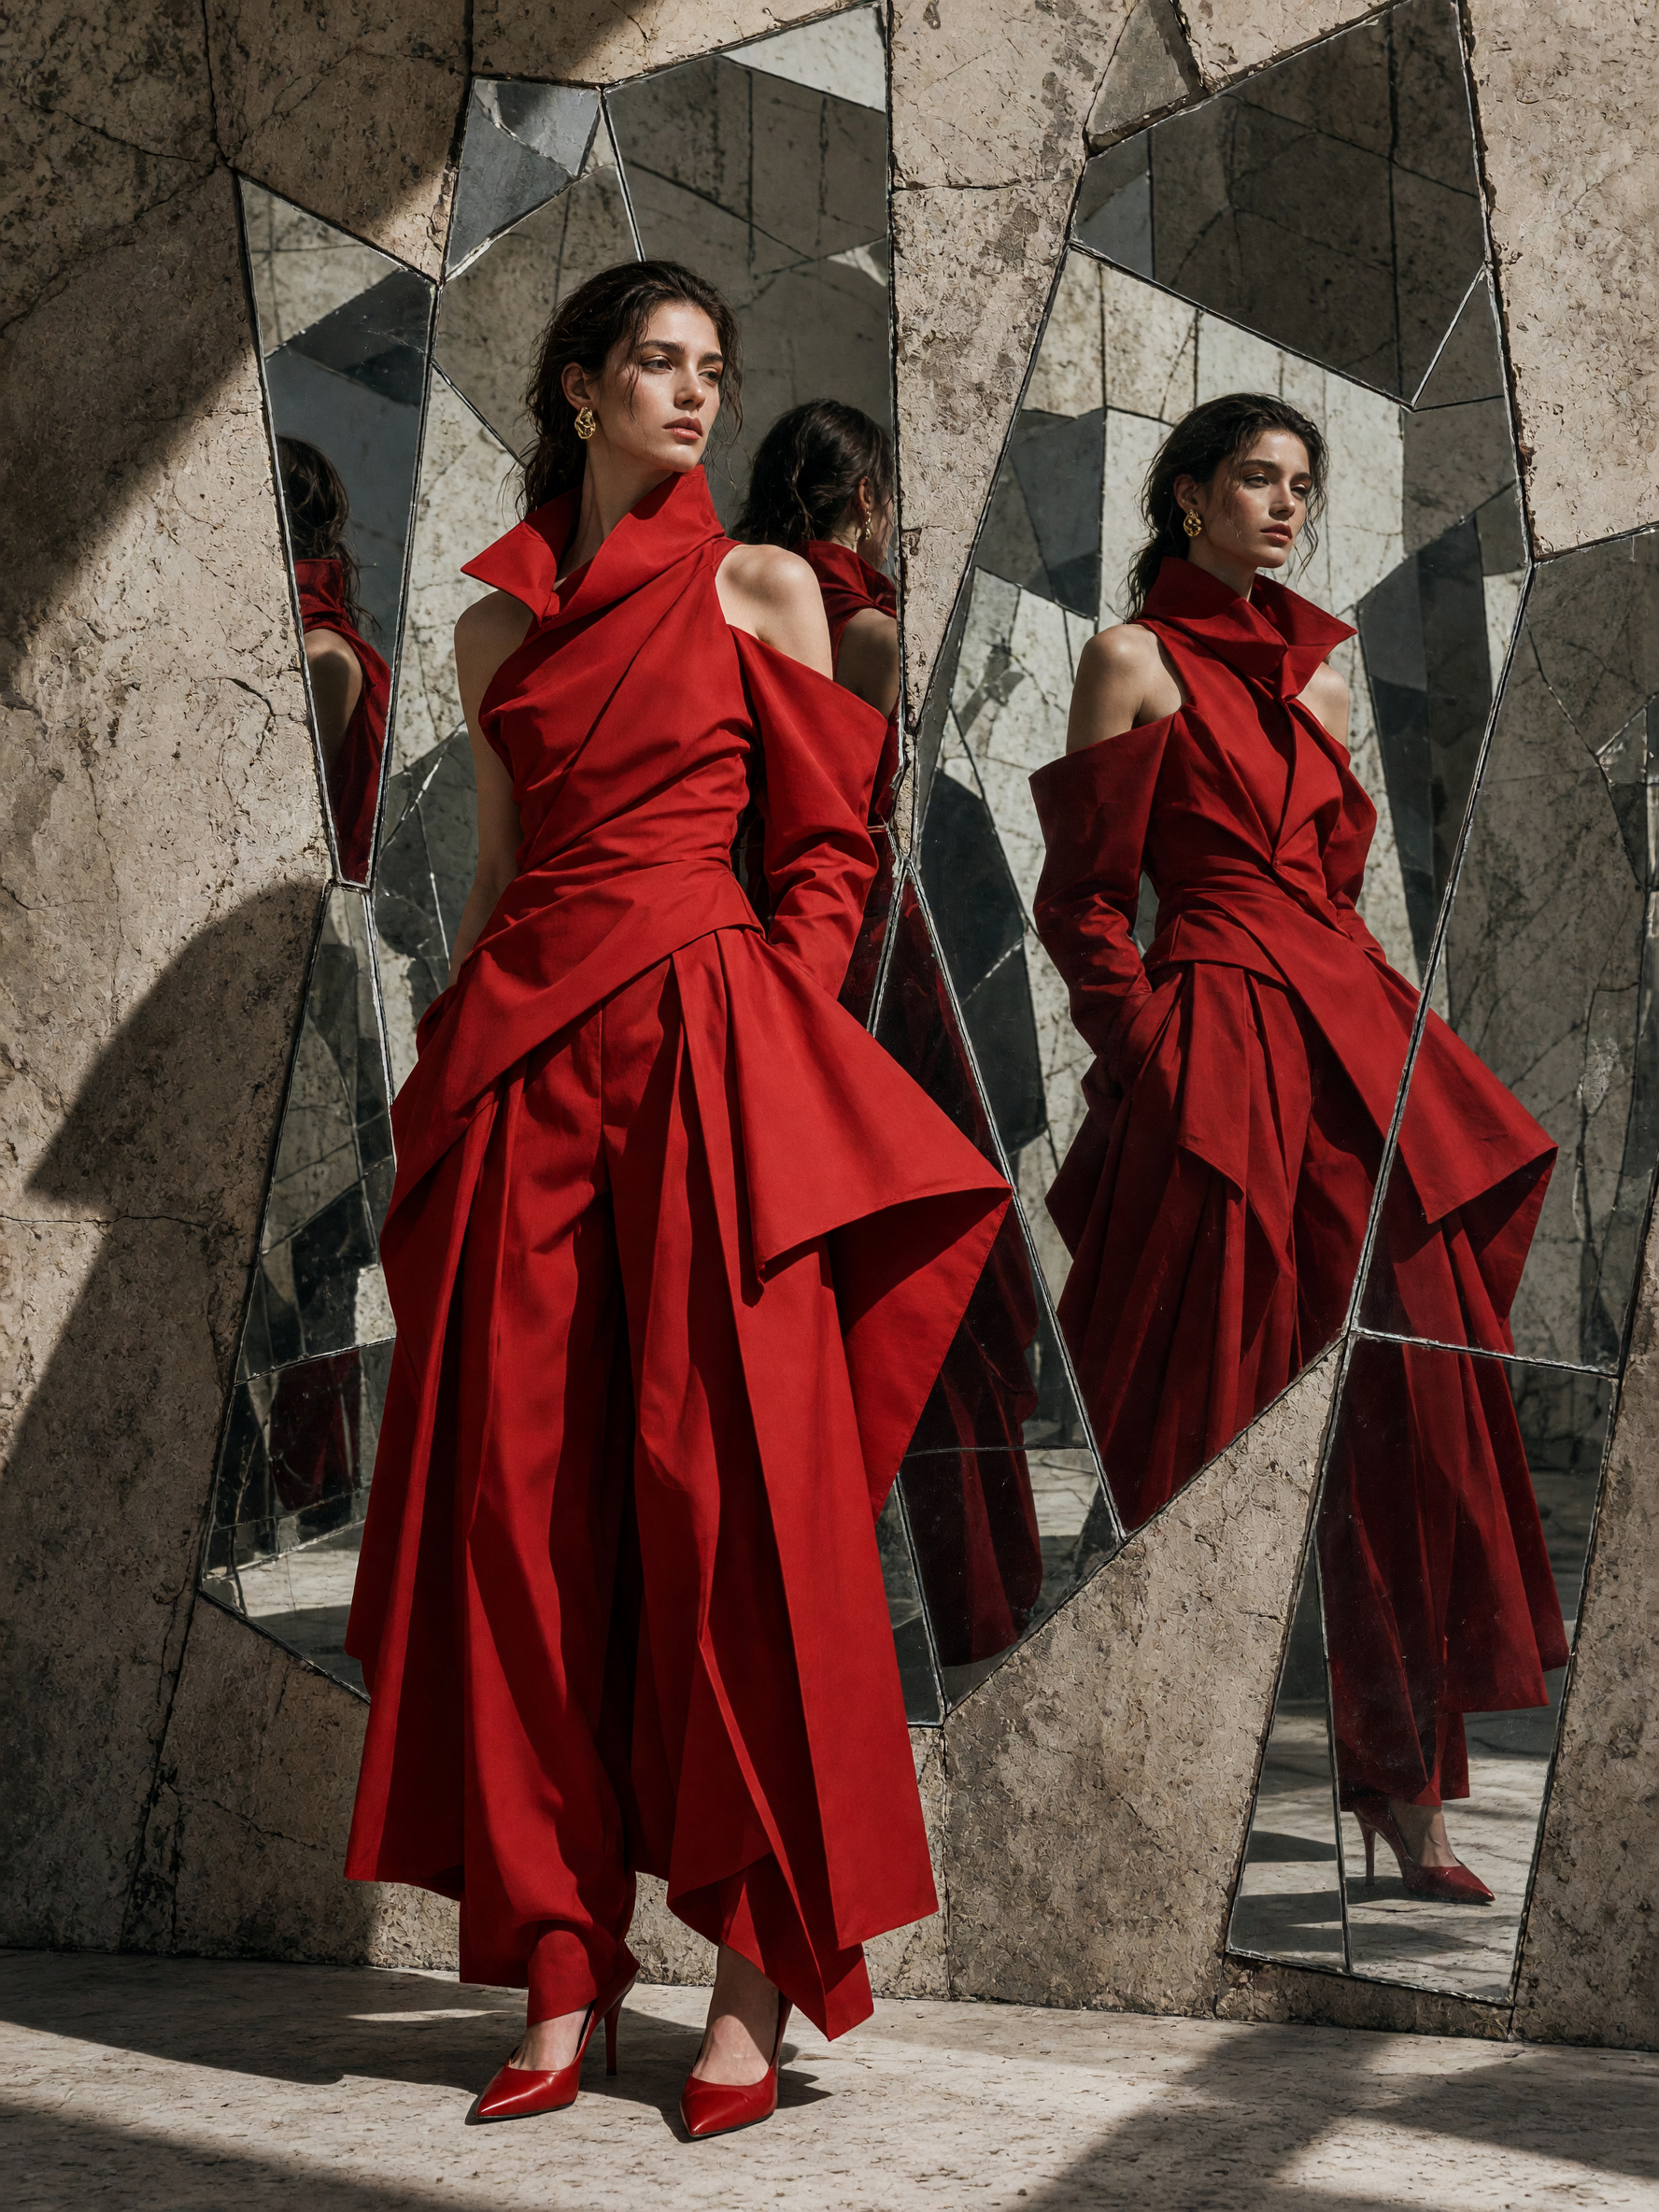
Full-length framing: "a model reflected in a wall of fragmented mirrors, in a full length frame, high fashion editorial photograph." Made with Grok Imagine 2.0.
What it costs
The price on the Generate button is the price you pay, and it adds up across takes. A clip costs more than a photo, and four takes cost more than one. We do not give a fixed price because it depends on the model Auto picks. Plans and credits are explained on the plans page.
FAQ
Can I use my own face?
Yes. You can save pictures of yourself as a character. Only use pictures of people who agreed. genvi checks every request before it runs, and a request that targets a real person can be refused.
Does the character stay the same across photos and clips?
The description and pictures are sent with every request, which pulls the results toward the same person. It works well but is not perfect. Pick the best take, and make the description more exact if something changes.
Where do the results go?
They go into the Persona project's assets, so they are easy to find later.
Can I post to social media from genvi?
No. You download the pictures and clips and post them yourself.